Making your own solar panels is a fun project to take on. You can use many materials, but aluminum foil is one of the best. You can make a solar panel with aluminum foil even if you have no experience.
If you don’t have aluminum foil, you can use other household items made from aluminum too. You can experiment until you find a DIY solar panels solution that works best for you!
In this article, I share which household items work great for making solar panels. I also explain how to make a simple solar panel with one of them and how to use aluminum foil for this project.
Household Materials That You Can Use To Make A Solar Panel
DIY solar panels are a popular science project in many schools worldwide. The materials used in these projects are mostly made of metal. Metals like silver, copper, and aluminum are conductive, making them an excellent choice! You can make your own solar panels at home with these.
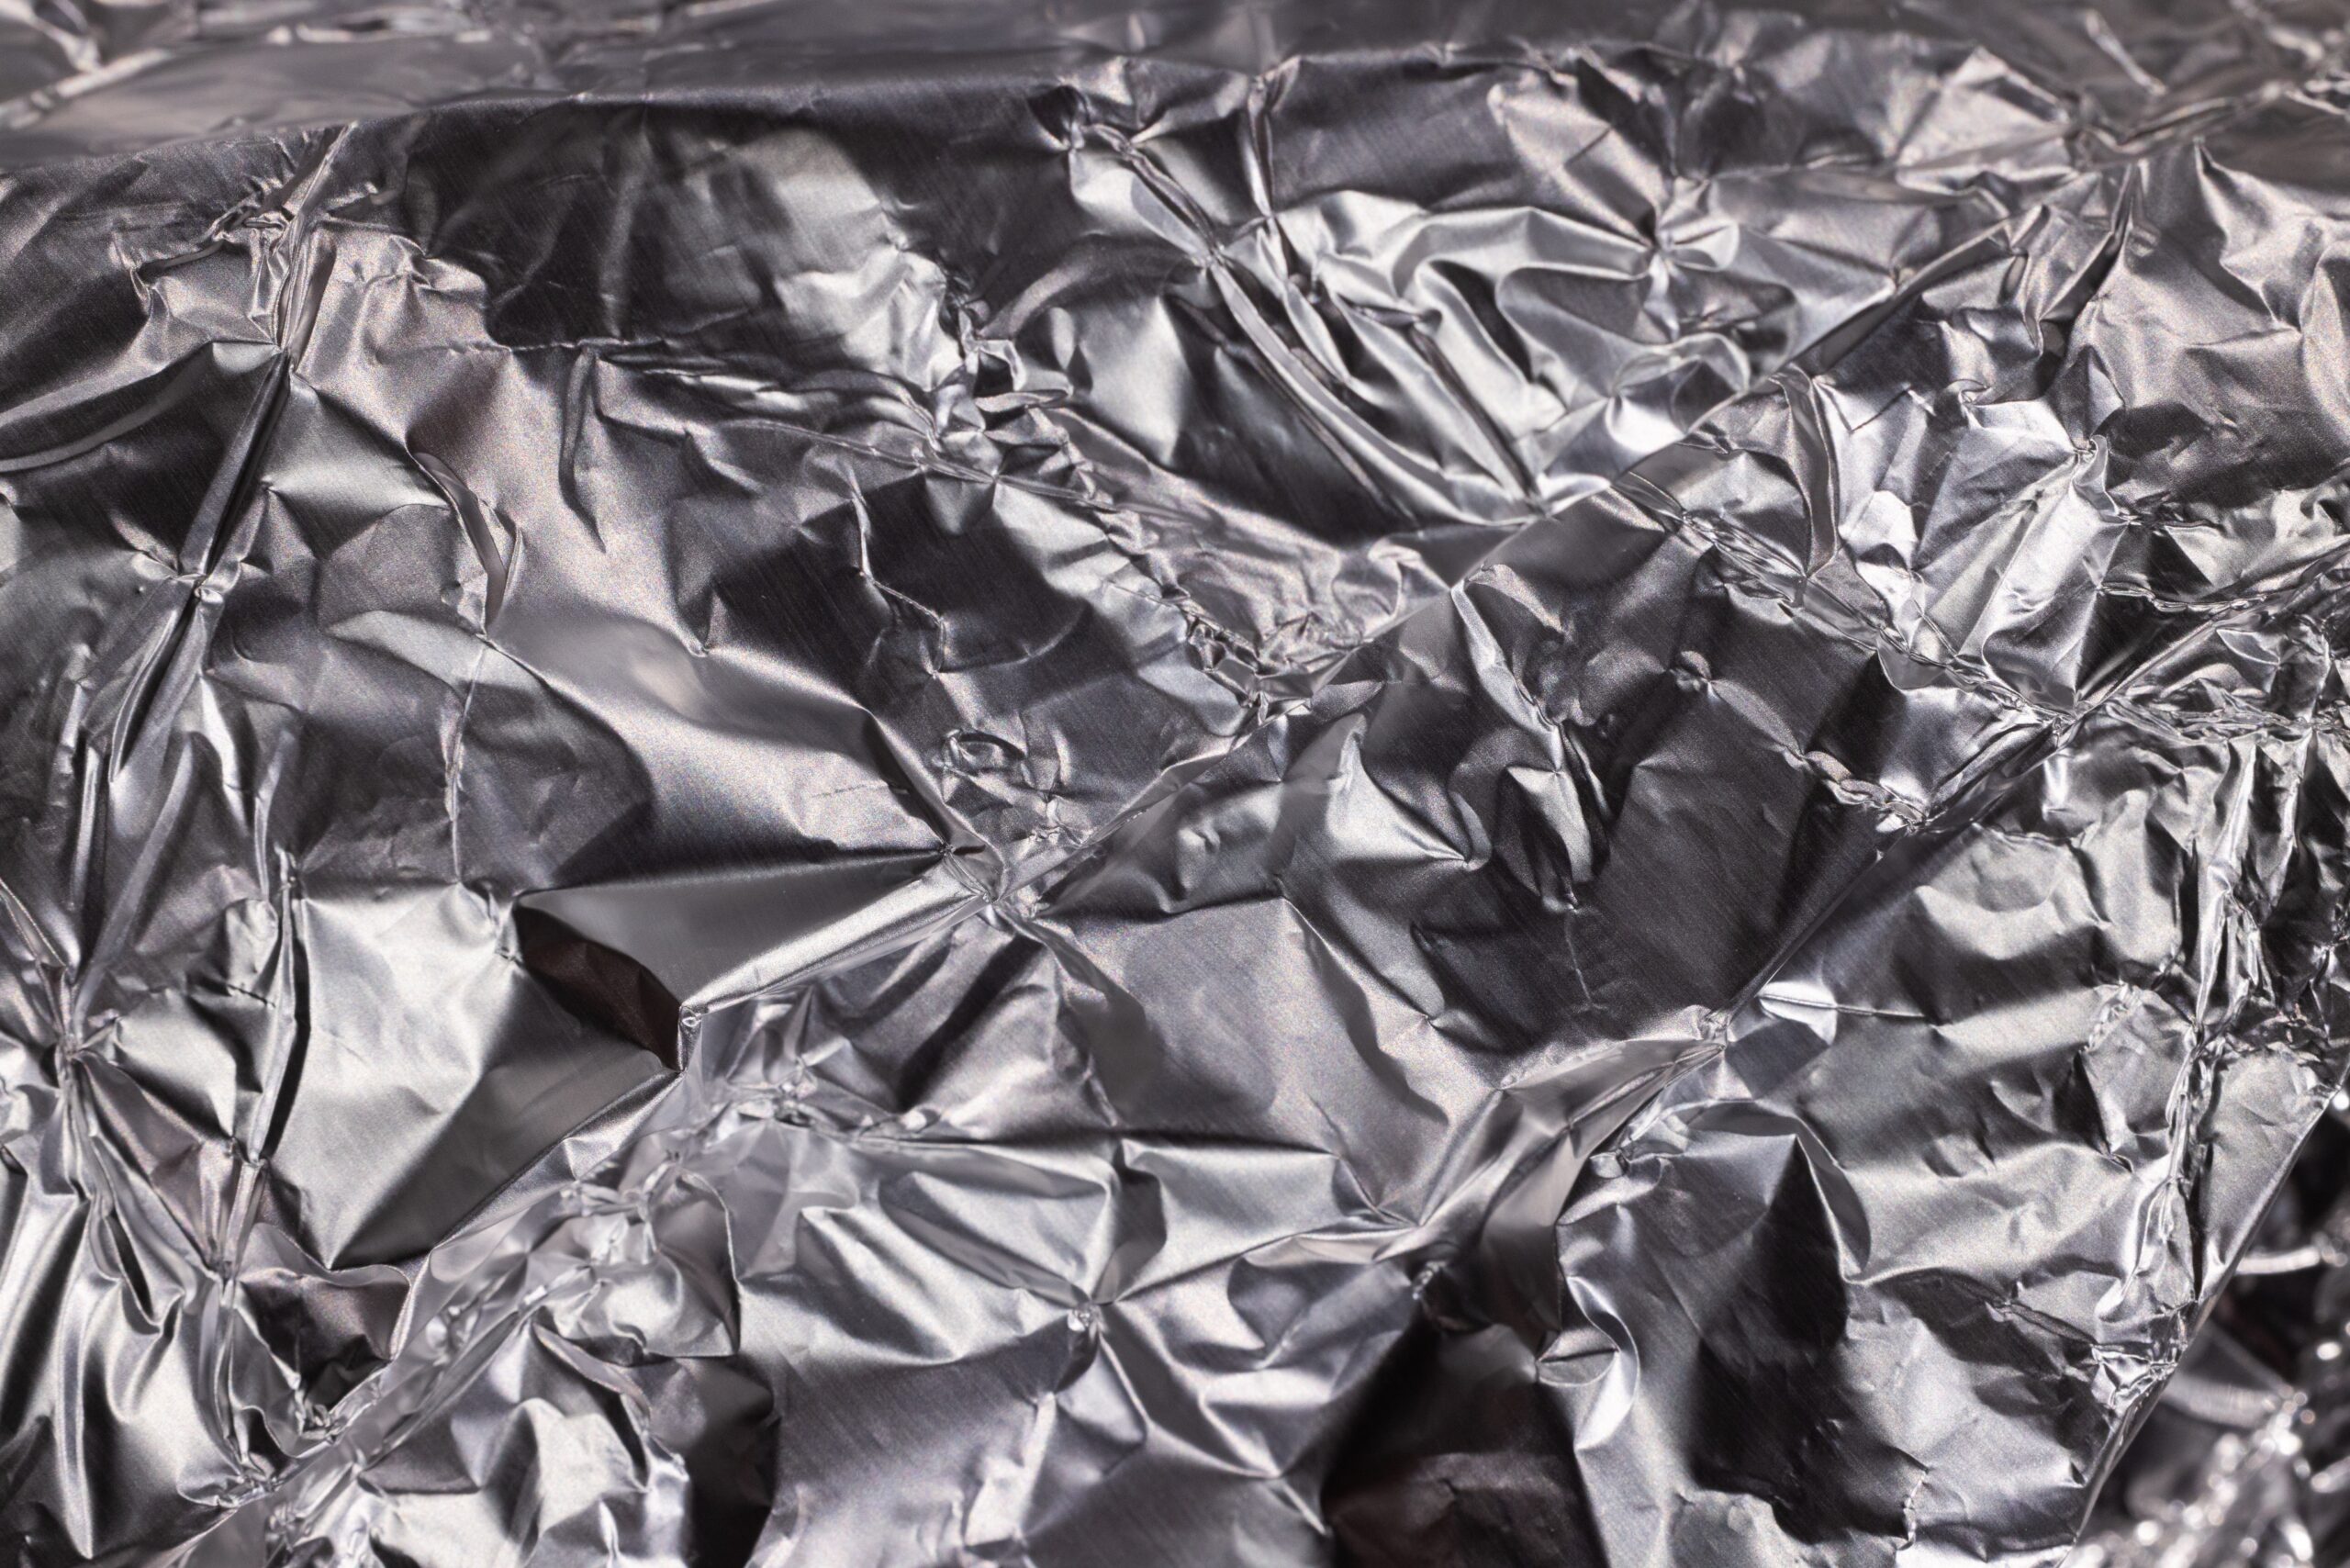
Aluminum Foil: Foil consists of 92 – 99% aluminum. It’s highly conductive and perfect for homemade solar panels.
Cans: Don’t toss your cans the next time you have beer or soda. Cans are made from aluminum and easy to work with!
CDs and DVDs: Compact discs are made from thin pieces of aluminum sandwiched between two layers of plastic. The aluminum is shiny, making it reflective enough to be a great solar panel.
How To Make A Solar Panel With Soda Cans
Aluminum soda cans are a popular choice for solar panel science projects.
What You’ll Need:
- Aluminum cans
- Tempered glass
- Materials to build the box
- Air tubes
- An air pump
- Silicon adhesive
- Matte black spray paint
Step 1: Cut The Cans
The tops of the cans should be the first thing to go. Use a sharp tool to cut them off and then make small slits at the cans’ bottom.
Step 2: Glue The Cans Together
Use the silicon adhesive to make a large panel of soda cans. Glue them in lines on top of each other like a tube. Glue the tubes next to each other to create a rectangular panel.
Step 3: Build The Box
Use plywood to build a large box that can hold the panel you made with the cans. Use a large, thin piece for the back of the box.
Step 4: Spray The Panel
Spraying your entire creation with matte black paint will help attract more sunlight. Black absorbs heat, and the matte will keep it from reflecting the light away.
Step 5: Add The Tubes
Install two air tubes for airflow through your box. The tubes should fit tightly to completely fill the holes you made in the wooden box.
Step 6: Attach The Air Pump To The Tubes
The pump will help the air flow faster and more efficiently. The air outside the panel should flow through the box and out again.
Step 7: Close The Box With A Glass Layer
Cut the tempered glass until it’s the perfect size to cover your solar panel. Attach it to the panel by fastening it to the wooden box.

How To Make A Solar Panel With Aluminum Foil
Most food enthusiasts and chefs have aluminum foil in their kitchens. This material is perfect for DIY solar panels since it’s made almost entirely from aluminum.
What You’ll Need:
- Aluminum foil
- A sheet of glass
- Copper wire
- Wire cutters
- Insulated wires
- Glue
Step 1: Cover The Glass With Copper Wire
Use copper wire to cover as much of the glass surface as possible. Use heat-resistant glue to keep everything in place.
The bigger the piece of glass, the more copper wire you’ll need to cover the surface. The size of the panel you make also influences the amount of energy you’ll be generating.
Step 2: Wrap The Surface With Foil
Take a large piece of aluminum foil and wrap the entire glass surface. The shiny part of the aluminum foil should be facing toward the glass. The dull part should face the sunlight.
Make two small holes in the foil at both ends for the copper wire to come through.
Step 3: Place The Panel In Sunlight
The entire purpose of the solar panel is to use the sun to power it. Find a spot with a lot of direct sunlight that doesn’t get exposed to elements like rain and hailstorms.
You could use a multimeter to test voltage in all spots. This will help you find the area where the sunlight is the brightest.
Step 4: Attach The Wires To Your Appliances
Use copper wires to make a connection between the panel and your appliances. You will need your wire cutters and the insulated electrical wires.
Remember to be cautious when working with any sort of electricity. It always carries risks.
What Can You Use An Aluminum Foil Solar Panel For?
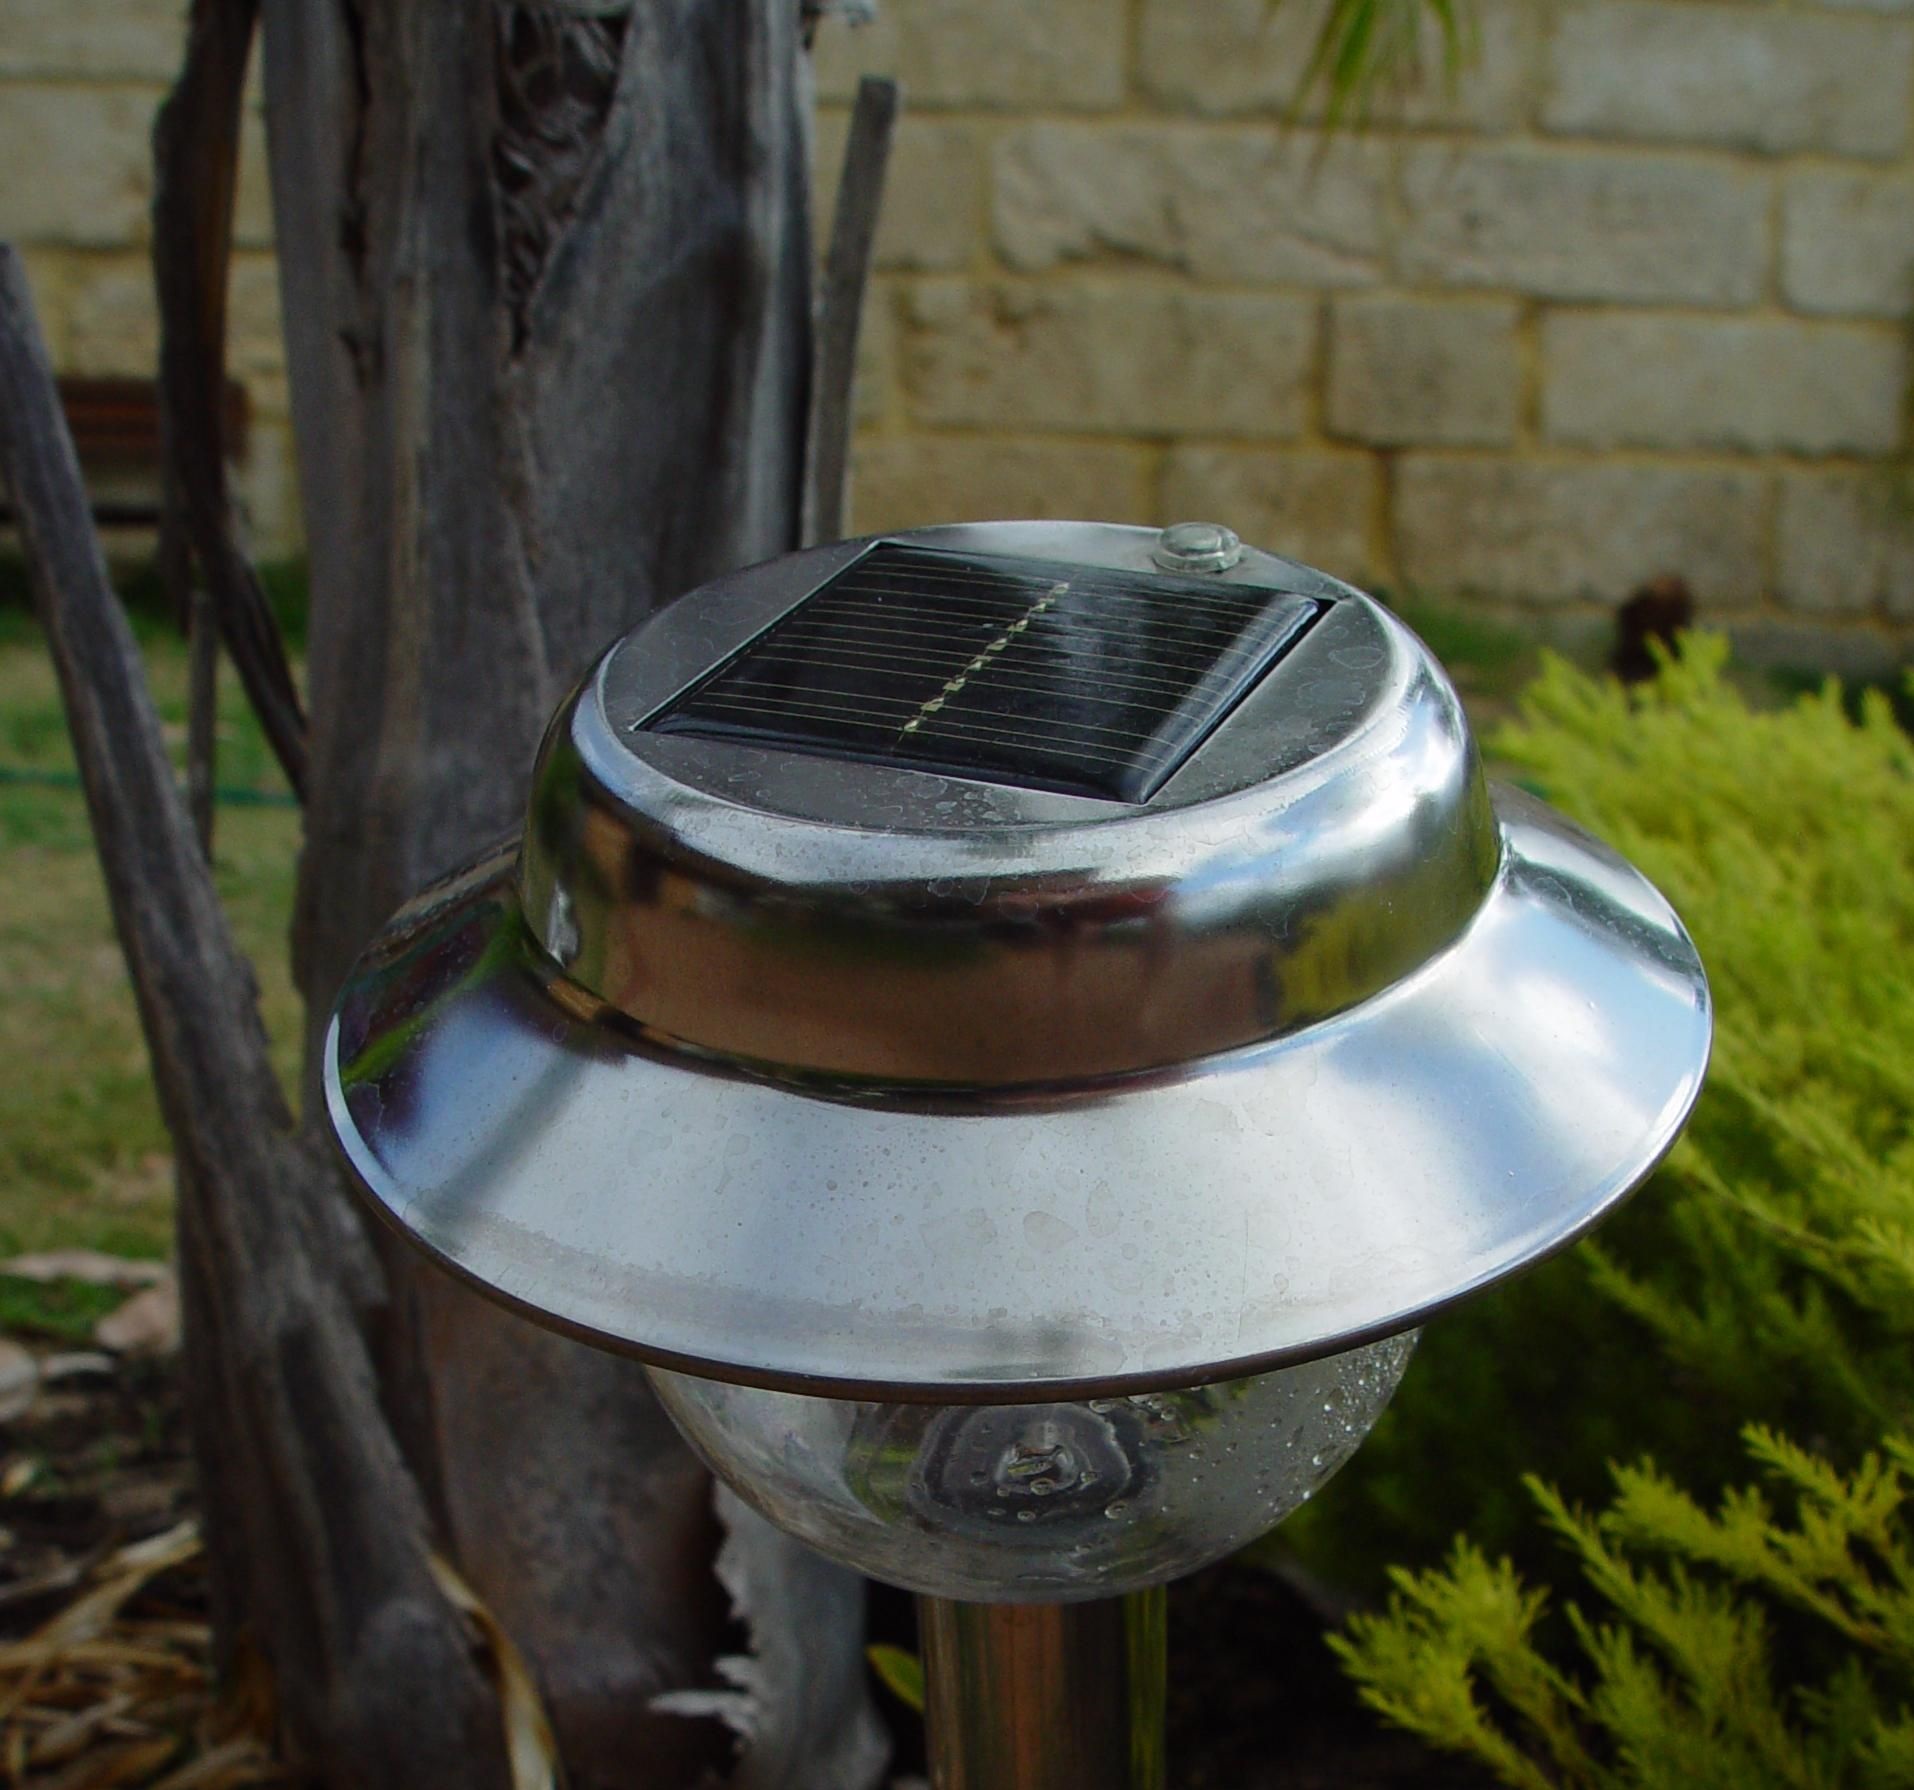
A foil solar panel won’t be able to power your entire house or something as big as your fridge. Appliances that use elements tend to take a lot more power, and foil won’t do the trick. You could use this small DIY solar panel to power your cell phone charger or a small stereo.
Aluminum foil solar panels are great for powering your small devices when you are outside.
The voltage and power you’ll get will depend on the panel size you make. The amount of sunlight that the panel gets exposed to is significant too.
Before The Heat Rises
Your DIY solar panel might not keep your washing machine running, but it’ll help when you’re stuck with no power and need to charge your phone or cook food. Aluminum is an excellent conductive material, and its uses, combined with the sun, are vast!
I hope you liked reading this article and feel ready to make your own aluminum foil solar panels. If you have more questions about this topic, ask them in the comments!


