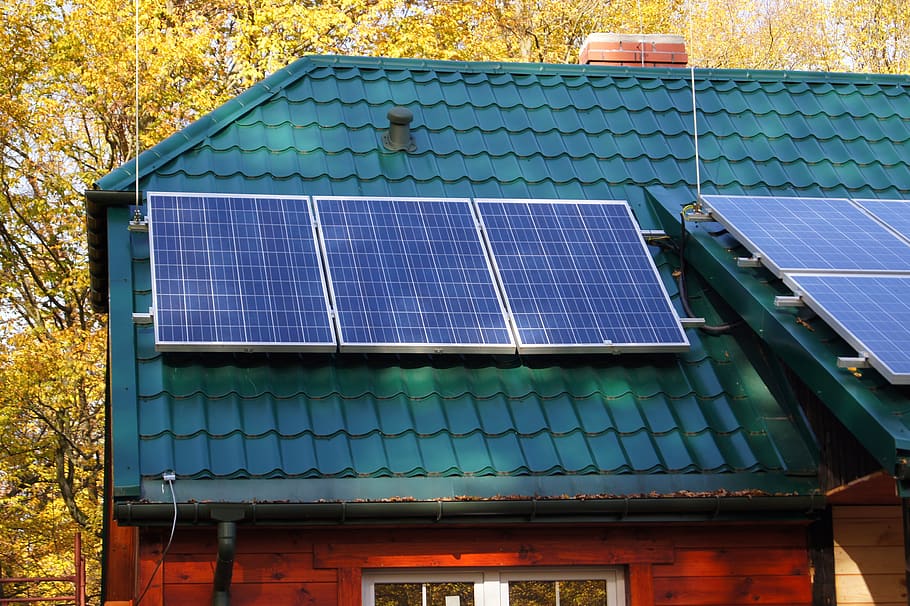
With the increasing awareness regarding the threats of climate change and other associated environmental adversities, people are readily exploring environmentally sound alternatives. One such alternative is renewable energy. These days, everyone is interested in “going green”, particularly in terms of energy generation. Green energy sources including solar energy not only ensure environmental protection but also present an opportunity to save money. However, the cost-saving potential is often realized in the long run as the capital cost of solar panels is usually quite high. The good news is that you can make solar panels in your own home by simply reusing household items for only a fraction of a cost. It is an interesting activity for children and can even be introduced at school science fairs. In this article, you will learn how to make a solar panel from CD by a simple process that will take less than an hour.
In this digital age, many of us have discarded CDs that were earlier used for storing music, movies, and other media files. The reason being the advent of portable music players which can be directly connected to laptop computers. Thus, you no longer need blank burned CDs. You can now recycle these old CDs to make a solar panel. Isn’t it interesting? You can use the reflective surface of the CD and modify it with simple household materials to create your own solar panel. However, you cannot consider this type of solar panel as a substitute for the professionally installed PV panels. Nonetheless, it is an engaging activity that can help understand the basic solar cell mechanism and technical components. In this article, we have discussed two step-by-step procedures for making DIY solar panels from old CDs.

Procedures for making a solar panel from CD- Step by step guide
A) Solar panel using copper wire
Required materials
Following are some commonly available materials which you will need to make the solar panel at home.
- CD
- Thin copper coil
- A positive and negative wire
- Motor
- Solder
- Soldering glue
Procedure
Follow the simple step-by-step procedure and make your own solar panel.
Step 1: Glue the copper coil over the CD
The first step is to take an old CD and place it over a flat surface with the shiny reflective side facing the top. Now, take a fine copper coil of roughly 2 feet in length. Fix one end of the coil on the CD hole with the help of super glue. Once its end is secured, turn it around over the CD in the form of a spiral keeping the CD’s center hole as reference diameter. The first spiral which is close to the CD’s center hole will have a smaller diameter and gradually the diameter will increase as you reach the end of the CD. Make sure that the distance between the spiral rounds is even. With the help of superglue, secure the copper coil spirals so that they remain intact at their place on the CD surface.
Step 2: Connect the outer end of the coil with a positive wire
Once the surface of the CD is completely covered with copper coil spirals, cut the copper coil. Next, apply some soldering glue on the outer end of the coil and connect it with a positive wire. Secure it firmly by welding it with solder.
Step 3: Connect the inner end of the coil with a negative wire
The next step is to connect the inner end of the coil (one which was fixed with the CD’s center hole) with the negative wire. To do so, apply soldering glue first, connect it with the wire and finally weld it.
Step 4: Connect the positive and negative wire with the motor
Now, take a simple DC motor. Attach the free end of the positive wire with the motor’s positive terminal and the free end of the negative wire with the motor’s negative terminal. This is done to check if our homemade solar panel can provide power to the motor.
Step 5: Place the CD’s reflective surface facing the sun
In the final step, place the CD in a way that its shiny surface is facing the sunlight. You will observe that this will allow the motor to operate. This is how you can make a simple solar panel from CD to fulfill small power needs.
B) Solar thermal panel from cardboard
Required materials
The materials which are required for this activity are readily available items that one can easily find at home. Have a look below:
- CDs (quantity depending on the window size)
- Cardboard
- Measuring tape
- Superglue
- Utility knife
- Pencil
- Transparent clean plastic cloth
- A bunch of S hooks
- A pair of scissors
- Awl
- Black spray paint
- Masking tape
Procedure
If you have gathered the above-mentioned materials then you have all the gear. You can start with the procedure now. The procedure has been divided into 7 steps for easy understanding.
Step 1: Measure the size of the window
The first step is to determine the dimensions of the solar panel which is done by measuring the window size. Use a measuring tape and note the dimensions of the window. Now take the cardboard and by using the utility knife cut a piece of the cardboard keeping into consideration the measurements taken. Note that you do not need to take the actual measurement values, instead add 4 inches in the previously obtained values for window dimensions. This means that you will add 8 inches in the width and 8 inches in the length respectively. Thus, if the size of the window is 20 inches by 30 inches, you will require to cut the cardboard piece with dimensions of 28 inches by 38 inches.
Step 2: Paint coat the cardboard piece
In the second step, you need to take black spray paint and coat it over the piece of cardboard. Pick any side of the cardboard and paint it completely black. The reason for doing this is to enhance the heat absorption capacity of the cardboard piece. Black color has remarkable heat retention properties. Once you have painted the cardboard, leave it for some time thus allowing it to completely dry. After it is completely dried, apply a second coat of paint if required. The double paint coating will further improve the heat retention potential of the cardboard.
Step 3: Make a cardboard box
Now you need to make a box from the cardboard piece. For this, cut four inches square from each corner of the cardboard piece and then bend the sides. Make sure that the corners of the cardboard piece meet each other. Note that the black paint coated side should remain inside. Secure the corners by using masking tape. This will help the box in retaining its shape.
Step 4: Arrange the CDs in the box
Now the next step is to place the CDs inside the box in the form of rows with the reflective metal side facing outward. Try to arrange the CD rows as evenly as possible. Moreover, ensure that the last row of the CDs touches the bottom side of the box while the first row touches the top side of the box.
Step 5: Cut the center holes
Next, with the help of a pencil trace the center holes of the CD rows. Once this is done, use a utility knife for cutting the holes out and removing them. Next, by using super glue, glue the CDs over these holes. Remember to keep a little space empty below and above the bottom, top, and center row.
Step 6: Cut rectangles from the leftover cardboard
The second last step is to cut out 4 rectangles from the leftover cardboard. The rectangles need to be 4 inches wide and around 3 quarters of the box’s width. Next, with the help of the glue, attach the rectangles on the box edges in the form of a maze wall. The 1st rectangle should be placed above the bottom-most CDs row on the left side while the 2nd will be placed below the center row on the right side. Similarly, place the 3rd rectangle at the top of the center row on the left side, While the 4th has to be placed under the top row on the right side. Once the placements are done, leave it aside allowing the glue to dry for some time.
Step 7: Cut and place the plastic drop cloth
In the last step, cut a small piece of the plastic drop cloth depending on the dimensions of the box. Note that the cloth should be 3 inches wider than the cardboard box. Once the required size of the drop cloth is achieved, place it on the top of the box and fix it tightly with the help of glue. Make sure you have made it completely airtight. Leave it aside for 12 hours allowing it to properly dry. Finally, insert S hook. For this, make two holes in the top-most corner of the box. It’s done! Now you can hang it. This DIY solar panel will work as a solar thermal panel thus, you can benefit from free heat anytime.
In this article, we have discussed two simple procedures by which you can use old CDs to make a solar panel. This is an interesting activity in which you can engage your children to strengthen their concepts regarding scientific phenomena. Although, you cannot consider such home-made solar panels equivalent to commercially available PV panels however they can help you understand the process behind solar power generation.